Foundational Matters

During a home inspection, one of the most critical areas for us to assess is the foundation. A solid foundation is the bedrock of a stable home, and identifying any issues early can save you from future headaches and expenses. Here's what we look for:

1. Visible Cracks: We inspect the foundation walls both inside and outside for visible cracks as much as is possible. There are several different types of cracks that have various meanings and degrees of concern. To list a few, there are vertical, horizontal, diagonal, v-shaped, pyramid-shaped and cracks shaped like stairs. In order to determine if the crack is an issue, we consider key components such as width, direction, length and other notable factors before we give our recommendations.

However, it is important to note that not all cracks are equally problematic. Hairline cracks in the concrete or superficial cracks should be noted and evaluated, but unless cracks are more than 1/4” wide, they are probably not a structural concern. Furthermore, in older homes, especially those with stacked stone or rubble foundations, movement is common and not always a sign of a poor foundation.

2. Uneven Floors: Sloping or uneven floors can be a sign of foundation settlement. We carefully evaluate the floors in each area of the house.

3. Sticking Doors and Windows: Doors or windows that no longer open and close smoothly can be due to shifts in the foundation. We pay close attention to any particular areas of a home where this might be the case as this can indicate an underlying issue.

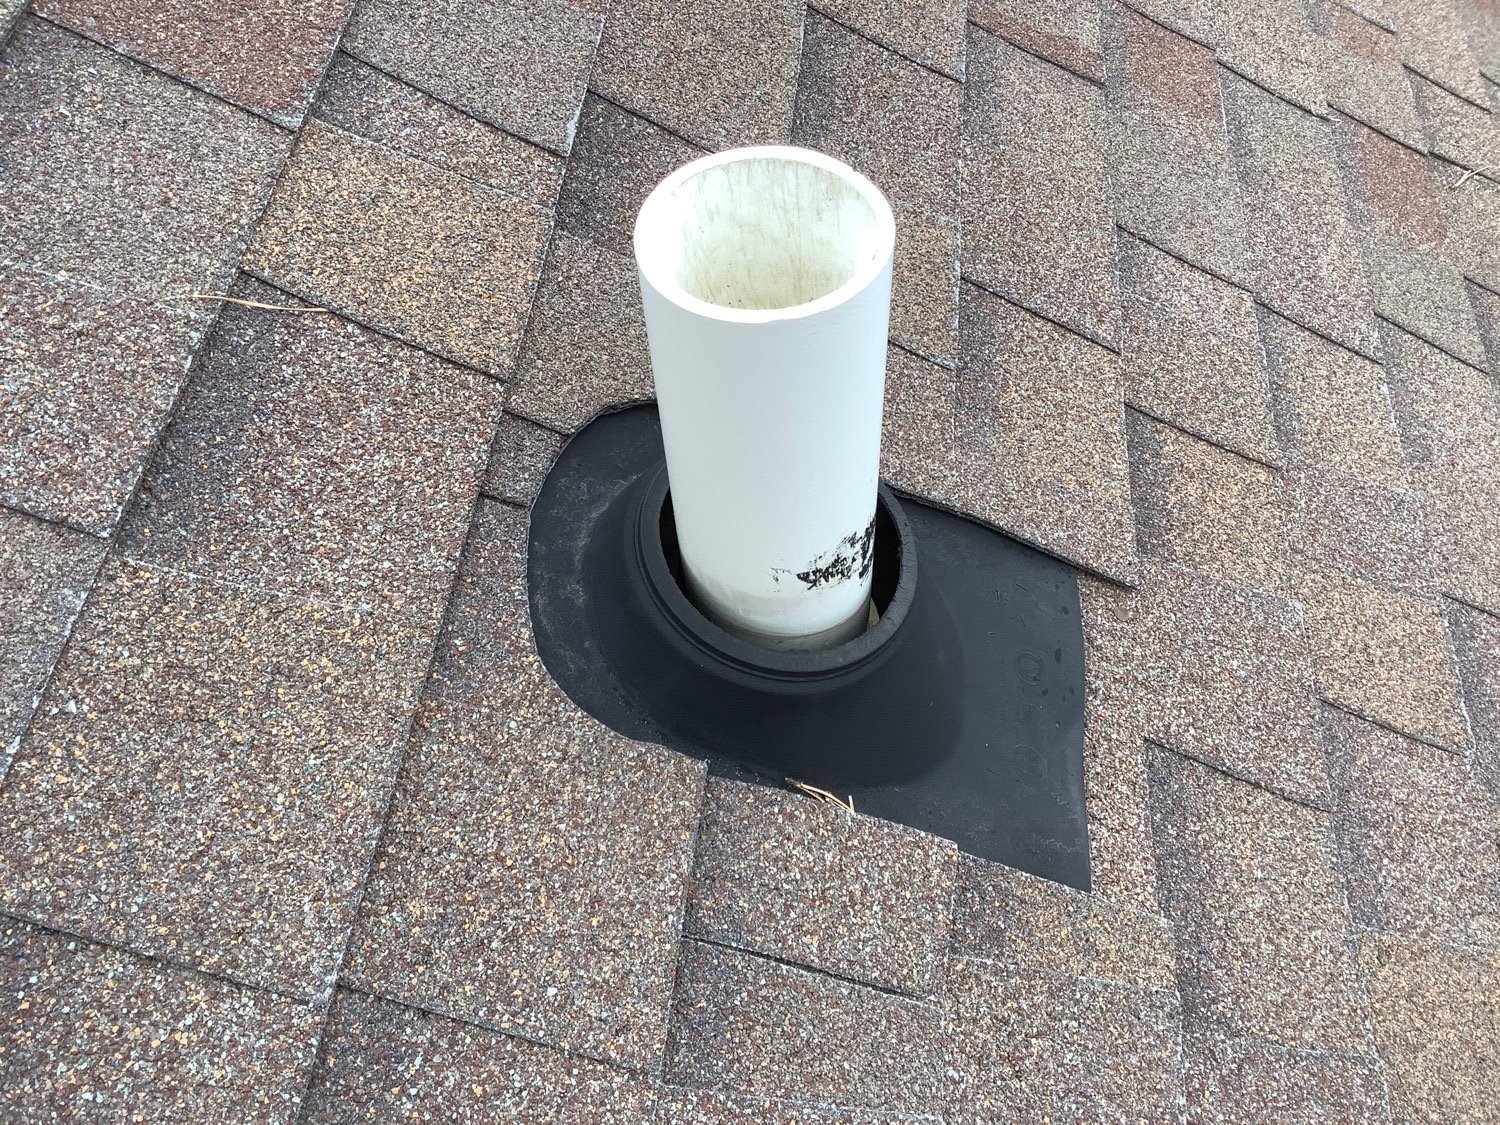
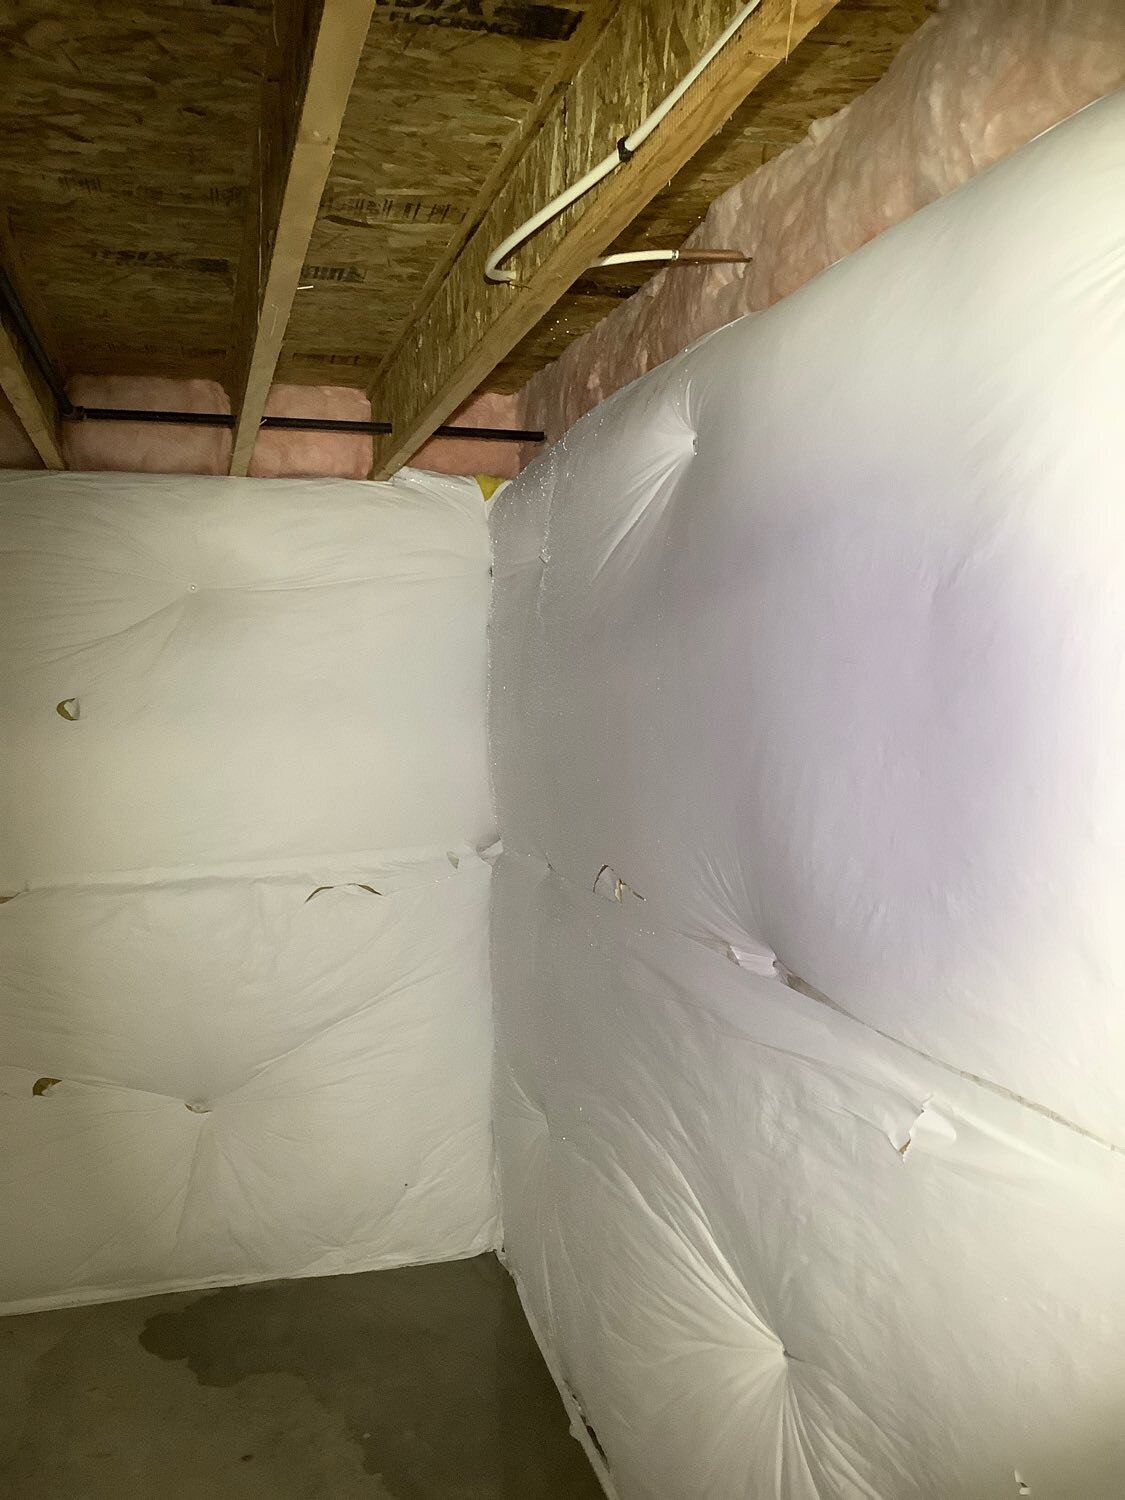
4. Water Damage: We search for signs of water damage, such as efflorescence (white, powdery residue), dampness, or mold on the foundation walls. These can be indicators of water infiltration near the foundation.

5. Crumbling or Chipping: Foundation materials should be solid. When we spot crumbling or chipping concrete or masonry, this can be a signal of deterioration, often due to moisture that is subjected to the freeze/thaw cycles so common here in Northern Colorado.

6. Exterior Landscaping: We check for any unusual changes in the landscape around the foundation, such as excessive settling, soil erosion, or large tree roots that might affect the foundation's stability. Poor drainage can also effect the foundation, and while common, such issues can be cause costly repairs.

If any of these issues are spotted during a home inspection, we will recommend consultation with a professional foundation inspector or structural engineer for a more in-depth evaluation. Early detection can save you from costly repairs down the road and ensure your new home is built on a strong foundation.

The Importance of a Bathroom Fan

When it comes to ventilating your bathroom, you might think that opening a window is sufficient to remove moisture and maintain a pleasant atmosphere. However, there are compelling reasons why installing a bathroom fan is the superior choice:

1. Efficient Moisture Control: Bathroom fans are purpose-built to swiftly remove excess moisture from the air. They help prevent the growth of mold and mildew, which thrive in damp environments. A window alone can't provide this level of efficiency.

2. Consistency: A bathroom fan operates consistently, regardless of the weather outside. In contrast, relying on a window means you're at the mercy of the elements. During Northern Colorado’s crazy weather extremes, maintaining proper ventilation can be challenging.

3. Privacy and Security: Open windows can compromise your privacy and security. A bathroom fan offers a discreet and reliable way to maintain a comfortable environment without sacrificing these aspects.

4. Odor Control: Bathroom fans not only remove moisture but also help eliminate odors quickly. This is especially beneficial in shared households or when hosting guests.

5. Energy Efficiency: Modern bathroom fans are designed to be energy-efficient, consuming far less electricity than continuously running a window air conditioner or heater to control temperature and moisture.

While a window can provide some ventilation, it falls short in terms of moisture control, consistency, privacy, and energy efficiency when compared to a dedicated bathroom fan. To ensure a comfortable, healthy, and hassle-free bathroom environment, we always recommend installing a bathroom fan in every bathroom.

Busting Some Myths Surrounding Home Inspecting

Home inspections are a crucial part of the home buying process, but they often come with misconceptions that can lead to confusion and unnecessary stress. Let's look at some common home inspection myths to set the record straight:

  1. Myth: Home Inspectors Always Find Every Issue

    Fact: While home inspectors are highly skilled professionals, they can't uncover every hidden problem. They provide a snapshot of a home's condition at a specific moment. Some issues may not be immediately apparent, and a home inspection cannot be exhaustive in nature.

  2. Myth: Home Inspectors Pass or Fail Homes

    Fact: Home inspectors don't pass or fail a house. They provide a detailed report of their findings. It's up to the buyer to decide whether to proceed with the purchase, negotiate repairs, or walk away.

  3. Myth: New Homes Don't Need Inspections

    Fact: Even new homes can have issues. A home inspection can uncover construction defects, incomplete work, or overlooked problems. It's a smart investment regardless of the home's age.

  4. Myth: Inspectors Only Look at the Structure

    Fact: Home inspections cover various aspects, including plumbing, electrical systems, appliances, and more. Inspectors assess the overall safety and functionality of the home.

  5. Myth: Home Inspections Are a Waste of Money

    Fact: Quite the opposite! Home inspections can save you money in the long run by identifying issues that may require costly repairs. They offer peace of mind and help you make informed decisions.

In summary, home inspections are invaluable tools in the home buying process. Understanding the realities of what they entail can help you navigate this crucial step with confidence and clarity.

January: National Radon Action Month

January is national radon action month, and it’s a great time to test for radon! Radon is a radioactive gas that comes up from the ground and is caused by the breakdown of uranium deep within our soils. When we breathe it in, we also inhale the by-products of that break-down process—but that’s not something you want to constantly take into your body!

Is Northern Colorado at risk for high radon levels? Yes! The only way to know the radon levels in your home is to run a test (that’s where Front Porch Inspections can help!).

Who needs to test for radon?

  • If you have a basement, then congratulations: you’re the most likely person to need a radon system, so be sure you test for radon!

  • If you have a crawlspace, then you still might have high radon levels, so be sure you test for radon! (Check out this short video here for more.)

  • If you have a slab on grade home, then your chances of having high radon levels are low, but be sure you test for radon to confirm that!

  • If you have a radon mitigation system already installed, do you know when you last tested for radon? The EPA recommends re-testing every few years to make sure that the system is working properly and that the radon levels within the home are still acceptable. (For more information, see the EPA’s website here.)

Zinsco is a 4-Letter Word (Bad Panels Part 1)

The main problem with Zinsco panels is they were produced with cheap bus bars (the part that conducts electricity to each breaker). While originally made with copper, in the 1960’s they were produced with plated aluminum. And instead of dedicated breaker “sockets”, Zinsco panels had a continuous bus bar to allow breakers to fit into position. This design led to two main problems:

  1. As the breakers slid around and were adjusted over time, they scraped the coating off the aluminum bus bars, which caused oxidation and corrosion. This in turn led to poor connections with the breakers and higher risk of arcing at the point of contact with the bus bar. Unfortunately, the only way to inspect for poor breaker connections is to remove the breakers, which in turn contributes to the underlying and ongoing issue.

  2. The second problem with this design is that since the breakers do not have a dedicated “socket”, they can sometimes slide or fall out! Some inspectors won’t even remove the panel cover if they come across a Zinsco panel for this reason! I’ve never had any fall out on me, but I’ve definitely run into my fair share of loose breakers.

In addition to these problems, Zinsco panels have also developed a reputation of failing to trip under load or only tripping slowly when required—both of which are dangerous situations and potential fire hazards. My parents had a Zinsco panel (installed in the mid 1960’s) where one phase would intermittently drop out for awhile and then come back on. Thankfully, their panel never started a fire before it was replaced, but that’s obviously not a good situation and potentially hazardous!

Bottom line: we always recommend replacing a Zinsco panel. “Zinsco” is a 4-letter word!

zinsco panels should be replaced

A Zinsco panel found at a recent inspection.

Is Your Roof at the End of its Life?

If you’re about ready to list your home and put it on the market, have you thought about your roof? If you can’t remember when it was last replaced, you should probably have a roofer check it out. Because who wants to list a home with a bum roof?

Unfortunately, I frequently inspect roofs that are in very poor condition and should have been replaced years ago. Between hail and our extremely intense sun, roofs around here don’t often last much more than 10 years, and if they do last that long, they need attention like any other component of your home.

In the video, the rubber plumbing vent boots are completely gone—the sun has totally destroyed their integrity, and they need to be replaced. That’s one of the first things to go on an older roof, and an easy way to allow water into the attic/ceiling.

So if you can’t remember the last time your roof was replaced or repaired, have it checked out! This is especially important as winter weather comes and roof inspections might be limited by snowfall.

Radon & Crawlspaces

A lot of people ask us about houses with crawlspaces and whether they need to be tested for higher radon levels. The assumption is that the radon is vented out the crawlspace vents and therefore the radon levels are lower in a home with a crawlspace (vs. basement). While that may be true, the only way to know if your house has high levels of radon present is to do a radon test. The EPA also recommends that you re-test every few years so you know that the levels haven’t changed because they can change over time due to barometric pressure or atmospheric conditions. So even though a home has a vented crawlspace, it’s a good idea to do a radon test, either when you purchase it or every few years!

By the way #1: the radon levels in this home was around 6.6, which is higher than the EPA’s recommended cutoff of 4.0.

By the way #2: Since July 1st, 2022, Colorado requires all radon measurement professionals to be licensed, so make sure that anyone performing a radon test for you has their CO license to do so. And of course, Front Porch uses licensed professionals: Jed’s radon measurement license is #138 in the state!

4 Questions To Ask Yourself When Fixing Up An Older Home

Photo via Pixels

Fixing up an old home can be incredibly rewarding. You get to live in a house with history and

character, one that you have emotionally and physically invested in. For many homeowners, it’s

well worth the money and effort. However, it is important to understand that fixing up an old

house is also complicated, expensive and often frustrating, so you need to ask yourself the right

questions and know what you are getting into beforehand.

What Do I Want to Change?

It’s important to be aware of all the changes you’d like to make so you can make an accurate

and realistic plan for how you will get your house looking exactly like you want. Make a list of

everything you’d like to change, then sort it by priority. Jobs that make the house safer or easier

to live in, such as improved insulation or updating electrical, should come first. As tempting as

diving straight into aesthetic changes can be, these can wait.

Remember that not all modern renovations will look good in an old house. If you aren’t careful,

things can start looking odd very quickly, which is why one of the fundamental rules of old-

house remodeling is keeping everything in proportion, according to U.S. News & World Report.

How Will My Home’s Age Impact the Work?

The older your house, the more likely it is that something will go wrong. Common problems with

older homes, such as termites, mold damage, and faulty pipework, have had more time to

establish themselves in the house. Also, depending on the era, older houses may have more

historical elements you want to keep. Restoration (restoring old elements) is much more

expensive than renovation (replacing old with new), because it usually requires a level of

craftsmanship or historical expertise.

What Can I DIY?

The answer to that question relies entirely on your DIY skills. If you’re a beginner, there are still

plenty of jobs that you can learn on the spot or with the help of an online tutorial. As Family

Handyman points out, projects like tightening a loose showerhead, weatherstripping and

mending loose wallpaper are jobs you can do yourself.

One way to get inspiration on the DIY possibilities in an old home is to read up on what other

people in your situation have done. Start reading old house renovation blogs to see the many

ways in which fellow old homeowners have taken huge projects into their own hands.

Which Jobs Are Better Left to the Pros?

There are certain jobs that should always be left to the pros (unless you have a lot of personal

experience in that kind of work). Unfortunately, many of these jobs are exactly the sort of work

old houses need, like plumbing, electrical, tilework, asbestos removal, and getting rid of mold.

Also, while you might think that refinishing your hardwood floors could be a DIY project, it’s

actually a job better suited to the professionals. The bigger the project, the more you’ll pay -- a

complex refinishing can run over $3,000.

There are also jobs like termite extermination. When dealing with termites, the best option is to

call a professional as soon as possible so the problem doesn’t get worse. Just know that, at an

average cost of $8,644, the costs of termite extermination and damage repair can be steep.

If your home needs plumbing work, you’ll want to bring in a professional as they’ll have the

expertise to deal with leaks, clogs, and installing plumbing appliances. When researching “local

plumbers near me,” you can visit a site like Angi which shares feedback from previous

customers and deals in your area.

Consider All Options When Budgeting

With these options and costs in mind, be sure to budget wisely to avoid getting in over your

head. Your budget should include all foreseeable costs -- if even estimated -- for contract labor

and supplies. Research all you can and align your budget with anticipated timelines as well as

your personal budget.

Renovating an old fixer-upper from scratch and getting a unique, gorgeous dream home in the

process is certainly achievable. As long as you’re willing to roll your sleeves up, put in some

work, and invest in professional help, you can have the beautifully renovated home you’ve been

dreaming of.

Guest Contributor Ray Flynn

DiyGuys.net | ray.flynn@diyguys.net

Meet The Team

Front Porch Inspections is growing! Lindsay joined the Front Porch team over the summer and takes care of scheduling and operations. Alex joined the team at the end of the summer and has been on the inspection side of things. But all of us are here to make sure everyone has the best inspection experience possible!

Certified Master Inspector

1CMI-Logo-Alternate-NoShadow.png

Front Porch Inspections’ very own Jed Kaessner was recently recognized as a Certified Master Inspector, the inspection industry’s top professional designation. The Master Inspector Certification Board only awards the CMI designation to those who demonstrate the highest level of competency by completing 1,000 fee-paid inspections and/or hours of inspection-related Continuing Education, for having been in the inspection business for at least three years, and for abiding by the industry’s toughest Code of Ethics. Congratulations Jed!

One Size Does Not Fit All

In today’s crazy housing market, the best agents will utilize all the tools in their arsenal to land contracts and make it to closing. The home inspection is one of those tools, and many agents are not aware that there are actually several “tools” to choose from—one size does not fit all needs! So here are a few of the inspection tools to choose from that Front Porch Inspections offers: 

The Classic (Buyer’s Home Inspection)

    • This is the classic, full home inspection that most agents are familiar with. During our inspections we look over everything from top to bottom, from attic to basement/crawlspace, from mechanical systems to outlets. (Prices start around $350.)

    • This type of inspection can be helpful for people wanting a full “punch-list” of things to fix/address, and this is a great way to get a comprehensive look at an entire home.

The Mini (Major Systems Inspection) 

    • This is pared down version of the home inspection that only looks at the major components of the home, including roof, attic, basement/crawlspace, HVAC, plumbing, and electrical systems. (Prices start around $150.)

    • This type of inspection is great for DIY weekend warriors, for homes that need a lot of cosmetic work but may have sound “bones”, or (alternatively) homes that are clearly in great condition.

The Consultation (Pre-Listing Consultation)

    • This is a complimentary walkthrough to get a high level view of a property before a home goes on the market. This pre-listing consultation aims to gather some basic information about mechanical and other major systems to include in a pre-listing packet.

Now Offering FREE Pre-Listing Consultations

Starting in the new year (2021), Front Porch Inspections will be offering complimentary, no-obligation, free pre-listing consultations to your clients who are preparing to list their homes on the market. Yes, free. These consultations will be a simple walk-through of their homes to point out things that might come up in an inspection.

What’s the fine print? Here’s the deal: 

  • The consultations are limited to 1 hour for each client, and no report will be generated except a simple checklist. 

  • After the consultation, if your client would like to do a pre-listing inspection (major systems only), they can take $15 off the price of a pre-listing inspection ($150). 

  • If your client would like to do a full inspection, they can take $50 off the price of a full inspection (typically $350-400, depending on square footage). 

  • But relax: there will be no hard selling or crazy sales tactics! 

  • One other thing: we can only offer this for homes within a reasonable distance from Fort Collins (just ask!).

  • That’s it! It’s that simple… Just contact us and we’ll put something on the calendar.

Frozen Frost-Free Faucets

Just because they’re frost-free doesn’t mean they will never freeze!

Residents at a recent home I inspected forgot to disconnect the hose at some point and the valve froze/burst. When I turned the faucet on outside, it sprayed water all over the basement!

The valves for frost-free, exterior water spigots in our area are actually way back inside the basement where they stay warm and don’t freeze. However, if you don’t disconnect the hose when it gets cold outside, the valve can’t drain the water in the line, and then it can freeze or burst. As we move into winter, don’t forget to disconnect (and drain) those hoses!

Check out our short video on Frost-Free Water Spigots here!